Rails and Trails Imaging
HomeAbout UsPhyllis' GalleryKeith's GalleryBooksModel RRContact Us

Model RR - Mountain Building
Casting the Molds
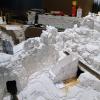
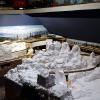
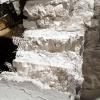
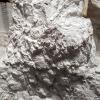
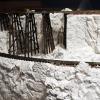
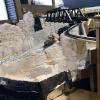
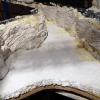
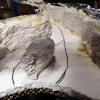
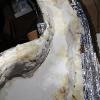
The beginning of realistic scenery starts with mountain building.  I illustrate various methods of installing plaster rock molded pieces.  You will see that I use pieces of molds more often than I use whole molds.  That requires breaking up a finished mold or cutting through the back with a razor saw so they will snap.  If using multiple molds to form rock formations on one area of the layout, be sure they are the same type of rock.  And of course, you must keep the rock strata or layers aligned.  Nature is very random, so don't try to be too precise.  A lot of mistakes can be fixed with patching plaster.
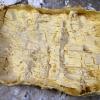
Filling molds with plaster is the easy part providing you remove the air bells.  The best mold release is a spray bottle of water and a drop or two of liquid detergent.  I purchase plaster in bulk from the Plaster Guys on Ebay for about $39 for 38 pounds, which includes shipping.  You can purchase all grades of plaster, but I prefer the ones that yield the most strength, quick setting time, and will absorb staining pigments for coloring.
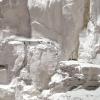
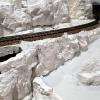
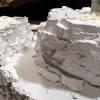
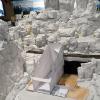
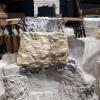
To play slide show, click on the 1st picture.
Installing Plaster Pieces Over Netting
This is my favorite method when doing permanent installations.  The steps are illustrated.  You can use large or small castings.  Regular joint compound used for drywall joints is used to bond all the pieces together and to the netting or support.  When dried, this gives the complete installation great strength.
Wet molds can actually be shaped in order to fit into some areas.  Since I attach the dried castings with joint compound for greater strength, I use foil to assure they don't attach themselves during the shaping process.  This is a massive area, so I built a heavy duty support structure, covered it with a heavier mesh, then covered the mesh with plaster cloth, and finally attached the castings with joint compound.  This may be overkill, but it is well supported and secure.
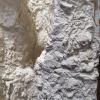
Forming Molds in Place
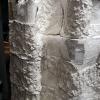
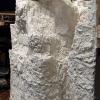
To play slide show, click on the 1st picture.
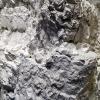
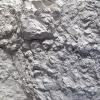
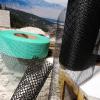
I use three types of mesh screen which can be obtained from most home improvement centers.
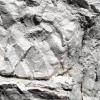
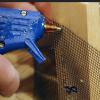
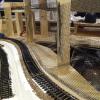
The wood vertical supports are glued and screwed to the base.  The mesh is applied with hot glue.
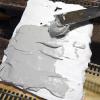
To prevent burnt fingers, I use an old paint can opener to spread the hot glue while it sets.
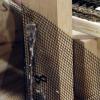
View shows mesh in place.
View of more vertical risers with mesh applied.
The back of the castings must be generously buttered before pressing in place against the mesh.
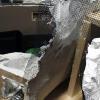
View shows backside of mesh.  Note how plaster squeezes through.  With a putty knife, you can spread the plaster on the back to thoroughly cover the mesh.
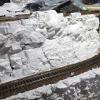
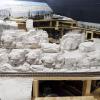
This area is partially covered with molded plaster pieces.  It is like a jigsaw puzzle of broken pieces.
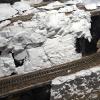
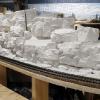
Area is now totally covered.  If you apply enough joint compound, it will fill all of the cracks. If not, you can fill them later before painting.
This is a another area showing a different kind of rock formation.
Another view of that formation.
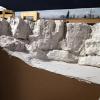
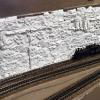
This section displays a high, steep cliff face.  The rock strata must be aligned as pieces are applied.
Another cliff face showing how size dwarfs the locomotive.  This is part of what I wanted to achieve.
Quartz Mountain is supported with vertical risers sandwiched between mesh.  The risers support the mesh and the mesh helps bind the castings together.  This simple technique will support a lot of vertical weight.
Note the mesh sticking up and ready to bond the next layer.  It is the thick layer of joint compound that helps provide the strength.  It must dry before you can add more.
Quartz Mountain with the last layers of castings at the top.
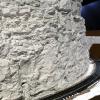
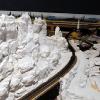
Rock detail of the installed castings.
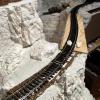
A mountain road was formed at the same time using mesh and several layers of joint compound.
The road as it continues on the other side of the mountain.  Note the filling of gaps between castings with spray foam.  This adds even more strength without adding weight.
I use mock up buildings like this stamp mill to achieve the correct placement of the castings.
Another view of Quartz Mountain showing the placement of the Stamp Mill which has to fit the contour of the terrain.
View shows the final height of Quartz Mountain.  This was achieved with four to five vertical layers of castings. I complete an entire area before any painting is done.  I find it difficult to go back and match colors.
Before painting, I use a small artist's spatula to patch and fill cracks and holes with joint compound.
Large mesh screen is supported on extensive framework to handle a lot of weight.
Mesh screen and vertical supports are wrapped with two layers of plaster cloth.
Plaster cloth wrap is completed and ready to apply casting.
Before placing the wet plaster molds, the area is covered with foil to prevent adhesion.
Foil is in place on another area and ready for the wet plaster.  When I press the mold of wet plaster in place, I hold it until it sets.
Mold is shaped to fit and has set about 10 minutes so I don't have to continue holding it in place.  After about 30 minutes of curing, I pull it away along with the foil and set it aside until ready to demold.
You can see a loose plaster cast set in place to check the fit.  It will be attached by buttering the back with joint compound and pressing in place.
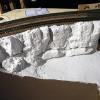
This area has all the plaster castings in place and the joints cleaned up.  I will go back later to fill some cracks and holes.
The terraced areas are for placement of trestle bents and trees.
Another view of stepped terraces for the base of trestle bents.
Rock formations looking down.  The plywood strip is temporary support for a future trestle and bridge that spans the gorge.
A lot of rock textures can be easily modeled.
This will give you an idea about the appearances that can be created.  To achieve the 3-dimensional look, you must use broken pieces of the castings.
Rarely do I use flat pieces of castings, but they have a place.  The mold itself provides the variations in texture.
Don't forget the ledges.  Many ledges and natural breaks are found in nature.
This rock exposure was created by applying spray foam to the relatively flat plaster cloth to produce a protrusion before forming the plaster castings.
Rock texture behind the trestle was selected to show vertical weathering and deep erosion. The trestle bents are held in place with rubber bands.
This is the beginning of Copper Canyon.  The river bank is layered rock strata.  The molds were formed wet to obtain the curvature along the river bank.
Both sides of the river have been set in place using spray foam instead of plaster.  Foil was placed over the contact area to prevent adhesion. Once set, these sections have to be removed of painting.
An island has been added that was created from broken pieces of molds.  The water flow will split before plunging over Cataract Falls.
This high view is the best way to show the placement of foil and the use of spray foam.  Where the foam is excessive, it can be easily trimmed with a knife or fine toothed saw.
This is a latex rock mold from Bragdon Enterprises.  They can be cleaned and reused many times.  They are well worth the investment.
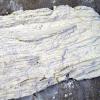
This is a portion of a layered rock strata casting that is 16" long.  It is very detailed, but you must be careful to align the strata when applying.
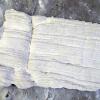
This shows the entire casting of sandstone, typical of the southwest.  This mold is so real and in perfect scale.  This is also a Bragdon Enterprises latex mold.
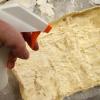
To prepare mold, spray with water that contains one or two drops of liquid detergent. This helps reduce air pockets.
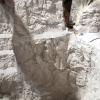
This set of pictures will be completed in the near future.